DIY Coffee Cabinet
A tutorial for a DIY coffee cabinet with additional shelving for storage in your kitchen.
DIY Coffee Cabinet
In my previous post, I talked about our kitchen remodel and the DIY kitchen wall-mounted countertop that I built to have additional countertop space in my new kitchen.
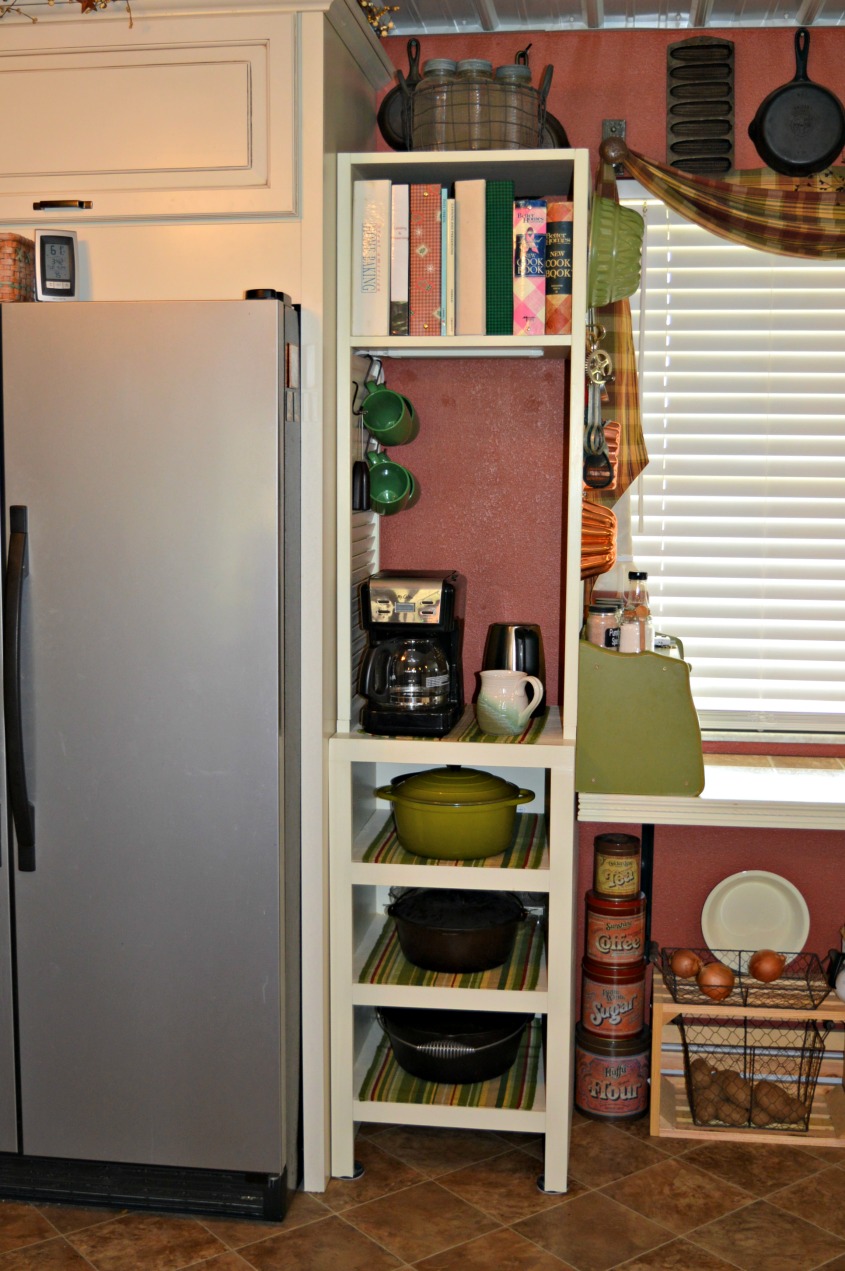
As you can see in the picture below, there was an empty space between my new wall-mounted countertop and my refrigerator that needed something…but what? Wait, I know! A DIY coffee cabinet!
DIY Coffee Cabinet
I needed an area for the coffee pot and supplies, as well as storage for my cast iron Dutch ovens and my cookbooks. The solution I decided on was to build a two-piece cabinet unit, which would include a base cabinet to hold my three Dutch ovens and an upper section with open shelving for the cookbooks and coffee pot.
I measured the width and depth of the empty space I had to work with, and I wanted the height of the base cabinet to be the same height as the wall-mounted countertop it was going to sit next to.
I started drawing plans on graph paper for the base cabinet that would fit in that space to include three shelves for the cast iron Dutch ovens.
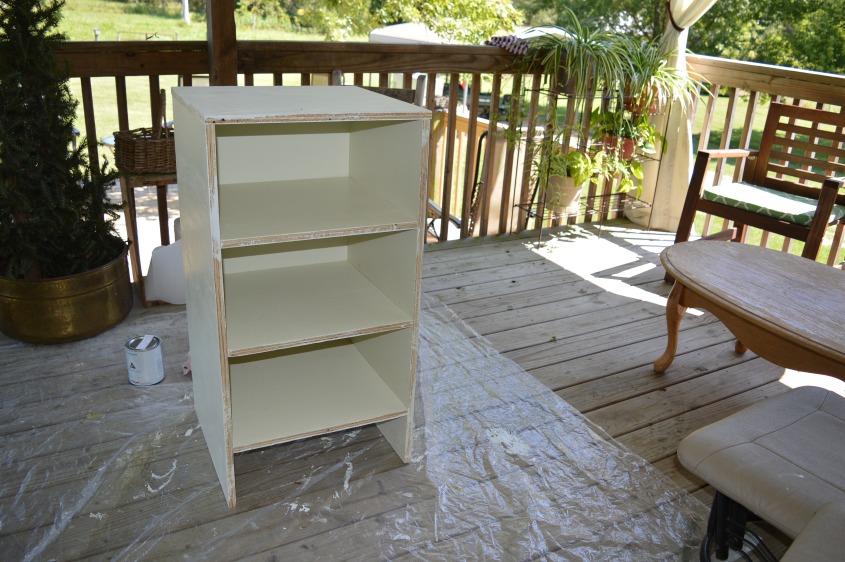
DIY Base Cabinet Construction
The cabinet would be painted, so a good quality 4’ x 8’ sheet of interior, sanded plywood would be my building material of choice. Also needed would be two 1” x 2” boards to use for trim on the front of the cabinet to hide the raw edges of the plywood.
After purchasing the plywood, the 1” x 2” boards and the paint I had mixed that would match the color of my kitchen cabinets, I began cutting the pieces based on my design plans.
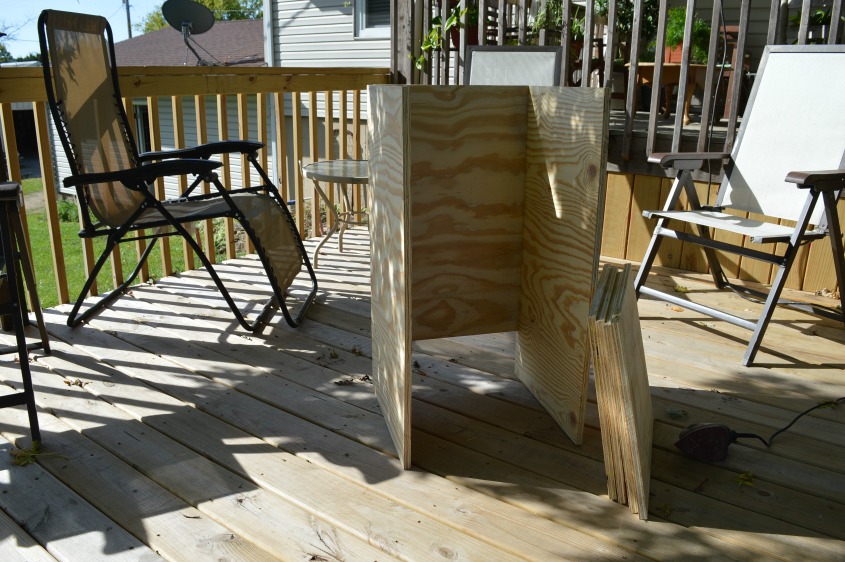
I borrowed a Kreg Jig Pocket Hole tool for this project. (I will be buying one of those for myself). The Kreg Jig creates a strong joint, but I also applied wood glue to the pieces I screwed together.
Priming and Painting
I then began priming and painting the pieces before I completely put the cabinet together because I think it’s easier to paint that way and the results are better.
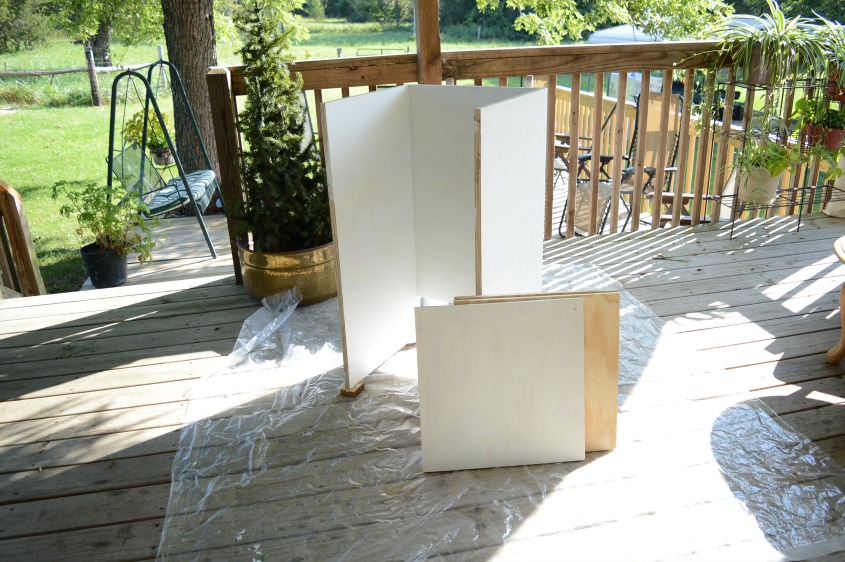
After all priming and painting of the plywood pieces and the 1” x 2” boards was finished, I screwed the shelves in place.
Then I nailed the 1” x 2” trim boards to the front of the cabinet with my air nailer. (That’s another tool I love)
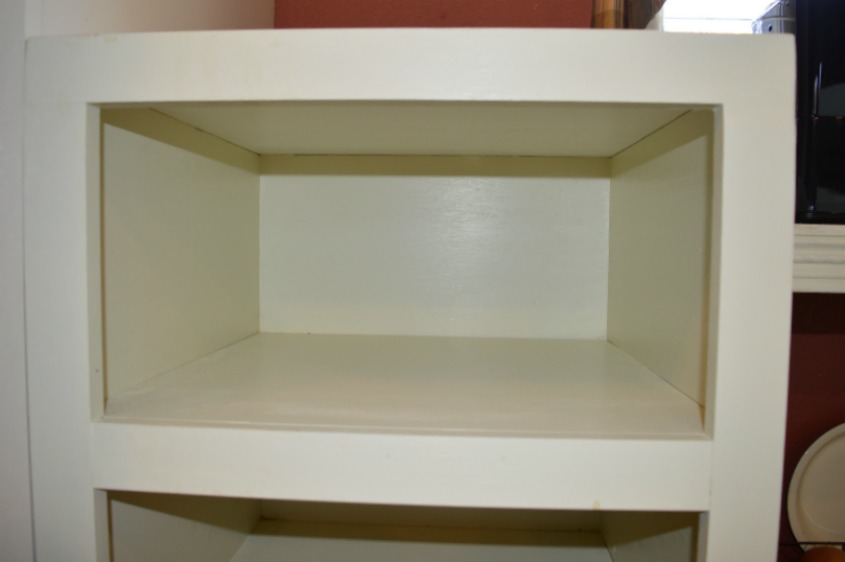
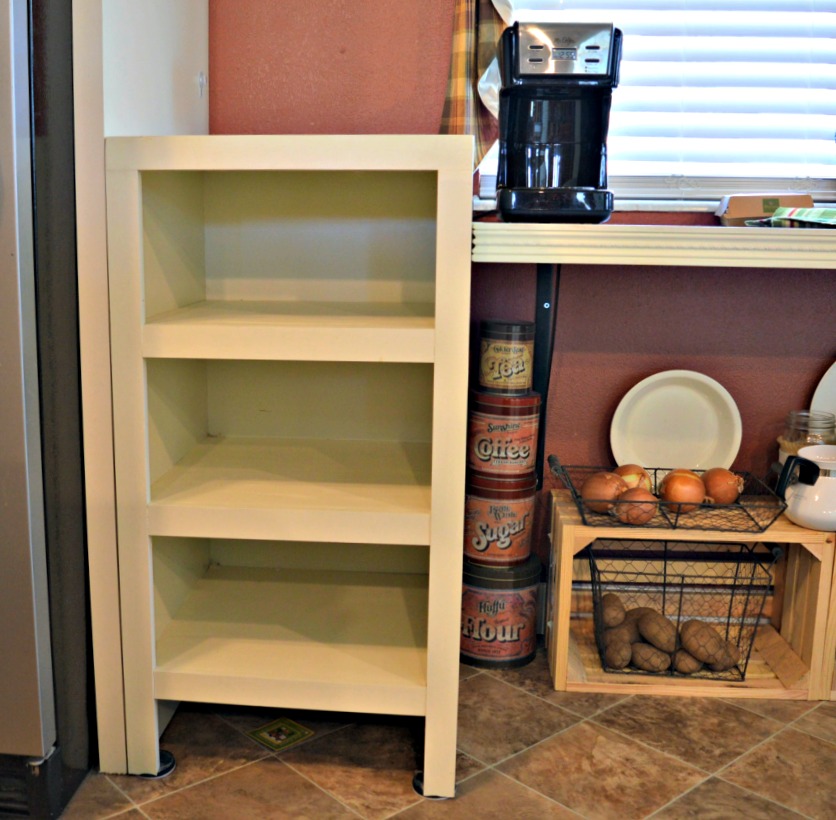
Finished Base Cabinet
The base cabinet was then finished, so I started designing the top half of the cabinet that would hold my coffee pot and cookbooks.
DIY Shutter Shelf
Our son-in-law is an independent contractor and about five years ago he asked me if I wanted some shutters left over from a job he had just finished. I didn’t know what I would do with them, but I took them because I’ve seen a lot of shutter repurpose ideas on Pinterest.
He gave me four shutters that were four feet long and I decided to use two of those shutters as sides for the upper cabinet I wanted to make.
Painting the Shutters
I began priming and painting the shutters, which took…forever. If I ever paint shutters again, it’ll be with a can of spray paint. But, I couldn’t do that with these because of the mixed-to-match paint I was using.

Thankfully, the shutters were already the length and width I needed so I didn’t have to do any size modifications to them. After they were primed and painted, I then needed to make the shelves that would fit in between the shutters.
Shutter Shelf Assembly
There was no plywood left over from the piece I purchased for the base cabinet, so I chose to buy a 24-inch x 48-inch MDF shelving board to use for the shelves. I cut two pieces 17”x 15 ½” from that board and then painted them.
After the paint was dry, I screwed one of those pieces between the shutters on one end that would serve as the top of the shelf. The other piece I placed about 12 inches below which would be the shelf for the cookbooks.
I used the Kreg Jig Pocket hole tool again to screw the shelves to the shutters. (Did I mention I will be buying one those for myself?)
The shutter shelf was then placed on top of the base cabinet and it was done!
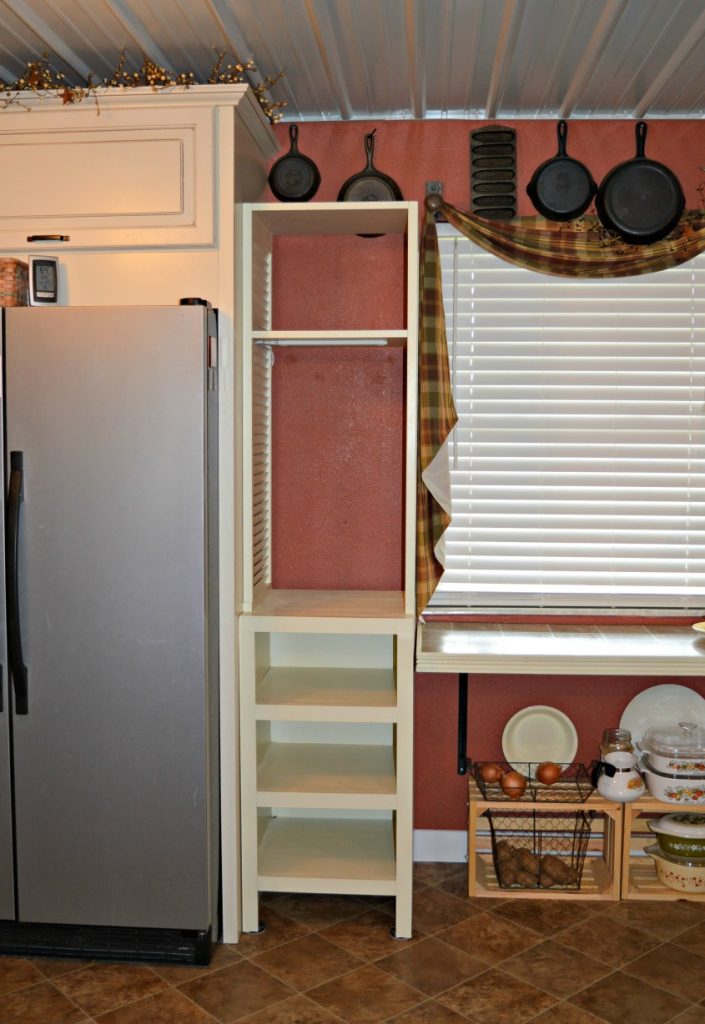
The coffee pot, cookbooks and Dutch ovens now have a home and I’m very satisfied with how it turned out. I also added an under-counter light above the coffee pot.